mirror of
https://github.com/creating2morrow/neveko.git
synced 2024-12-22 19:49:24 +00:00
4.3 KiB
4.3 KiB
The Manual
Architecture
- gui
- four internal mircoservers (auth, contact, market and message)
- core code module and lmdb
- one external i2p hidden service
- jwt for internal auth, jwp for external
JWP (JSON Web Proof)
- utilizes some external blockchain (neveko uses monero) for authorization of auth tokens
- 32 byte random signing keys generated on app start-up
Hmac<Sha384>internal,Hmac<Sha512>external (jwp)- see proof.rs
eyJhbGciOiJIUzUxMiJ9.eyJhZGRyZXNzIjoiNThvaUJMQUtBQ3JaeTRqVnRYdUFXMzlCOW1zR3dlbVVkSm9HVlozcGdSY1RoWHZqWjZ0RERqRGpuOE1mTUZ5cEtZMlU1U1B6SkE3NnFHeHhDdjJzd1Y0NjhFYkI2dEsiLCJoYXNoIjoiNzRhOTM5NTU1Y2EyMWJmY2MxYzlhMjhlYjFkN2M5MWZiMjRhYzRiOTY4MDk2Yzg4ODU1ODA3ODcwMDA1NmQ2NiIsIm1lc3NhZ2UiOiIiLCJzaWduYXR1cmUiOiJPdXRQcm9vZlYyWHdYTEJYV0VtbXlWd3YyOHFQRWQ0Mk14bm1FNTU3aUFEVHFGNjZDWG9LQ1ZFeFBqTVU4NFNIeWprZmdLd01WZEI4OUZkTkJ5QUxyeU1ZamVxQlY1U0VtU0V4MUJWWE1ITVJNWHVuMzh5aWVtcWhCcmVSWUdpRGdMN1lmRmVmemJSTnhlIn0.gH4RlLrxu3xqxNvsHv7lX1yYomg07yTlv6VEKpDfXwbDV4O267CXzm30G4YBQOfuDf3xpegUmeVXOScPvIZVRw - contents be decoded by 3rd parties but only the owner of the signing key can finalize the validation
- should be kept secret
Getting started
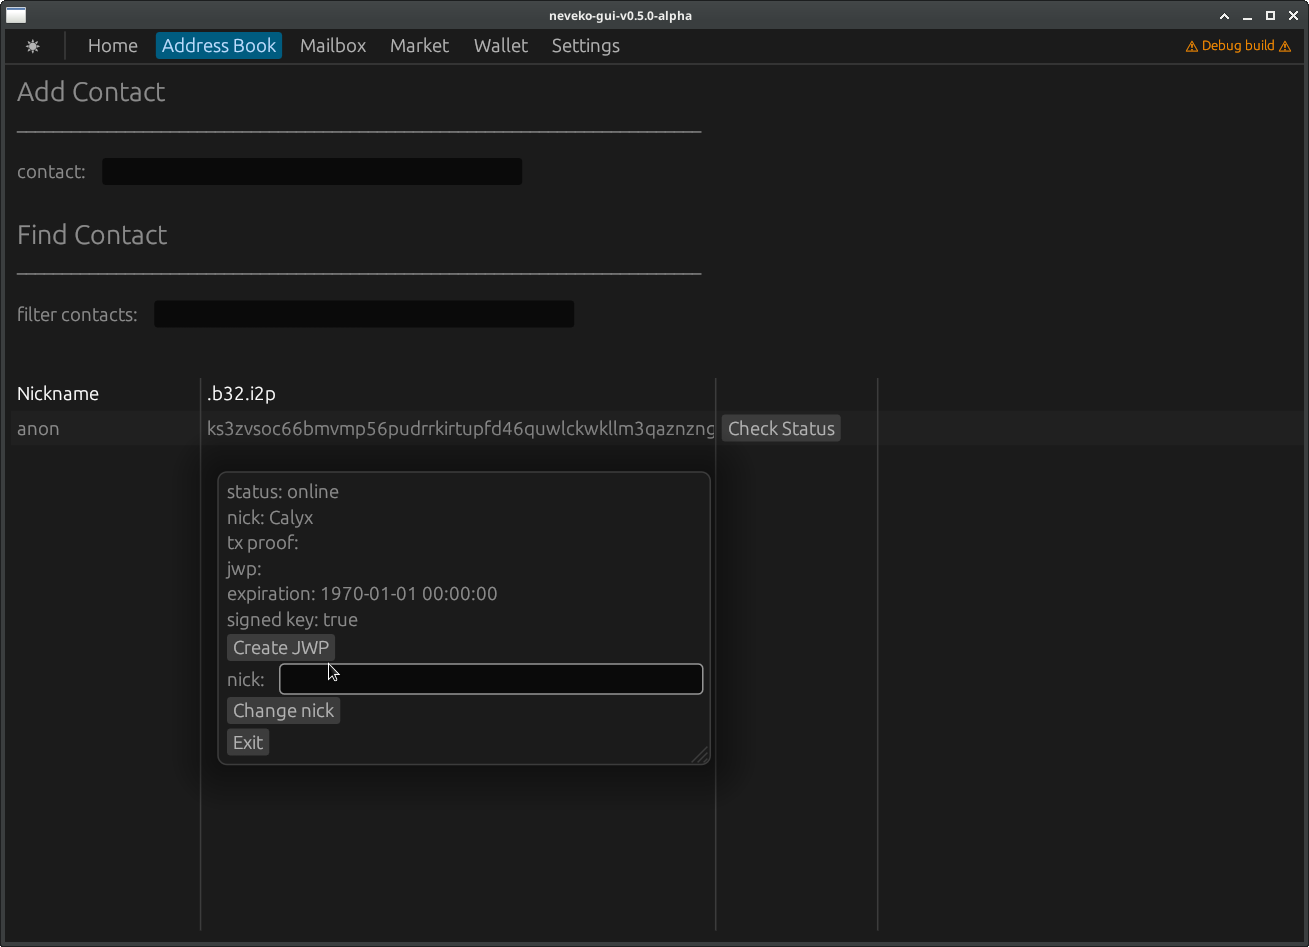
Adding a contact
- go to
AddressBookin the gui - enter .b32.i2p address of contact and click add
- if all goes well you will have imported their public neveko message public key
- dont reuse the neveko message keys anywhere else!
Create JWP
- getting started the app will automatically generate an account and associated monero PRIMARY address. Only use it here to maintain privacy
- deposit some stagenet monero in your xmr account (address in Wallet tab under
Show QR) - once unlocked neveko xmr balance will display
- click
check statusandCreate JWP - when authorizing to send to contact an invoice will be generated
- authorize payment and tx proof generation in the prompt
- this tx proof will be used to create an enciphered json web proof of payment with each contact
- think of it as a reusable, unforgeable coupon or ticket
- the invoice shows payment per blocks (time)
- default is 1 piconero per day
- the jwp is cached by the client until block time expiration at which time you will be required to authorize another payment
Sending a message
- the
check statusbutton will show current jwp for each contact clear stale jwpwill purge data in case of timeout issues- don't keep large amounts in neveko just enough for fees and jwps
- once a valid jwp is created (takes a few seconds) the
composebutton will be visible - you need to click
check statuson contacts before sending to refresh jwp expiration check - draft a plain text message, dont be shy
- verify recipient (.b32.i2p address) and press
send - plain text messages never leave your machine
- you can click
Refreshbutton in the Mailbox to check for new messages - messages must be deciphered by clicking
decipher
fts (failed-to-send)
- messages are automatically rebroadcasted every minute until either the contact comes back online or the JWP expires.
- If contacts don't come back online before JWP expiration the message must be drafted again
- It is primarily meant for handling connectivity issues or the edge case where a contact is
is online during the
check statusbut goes offline while the message is being drafted
Market
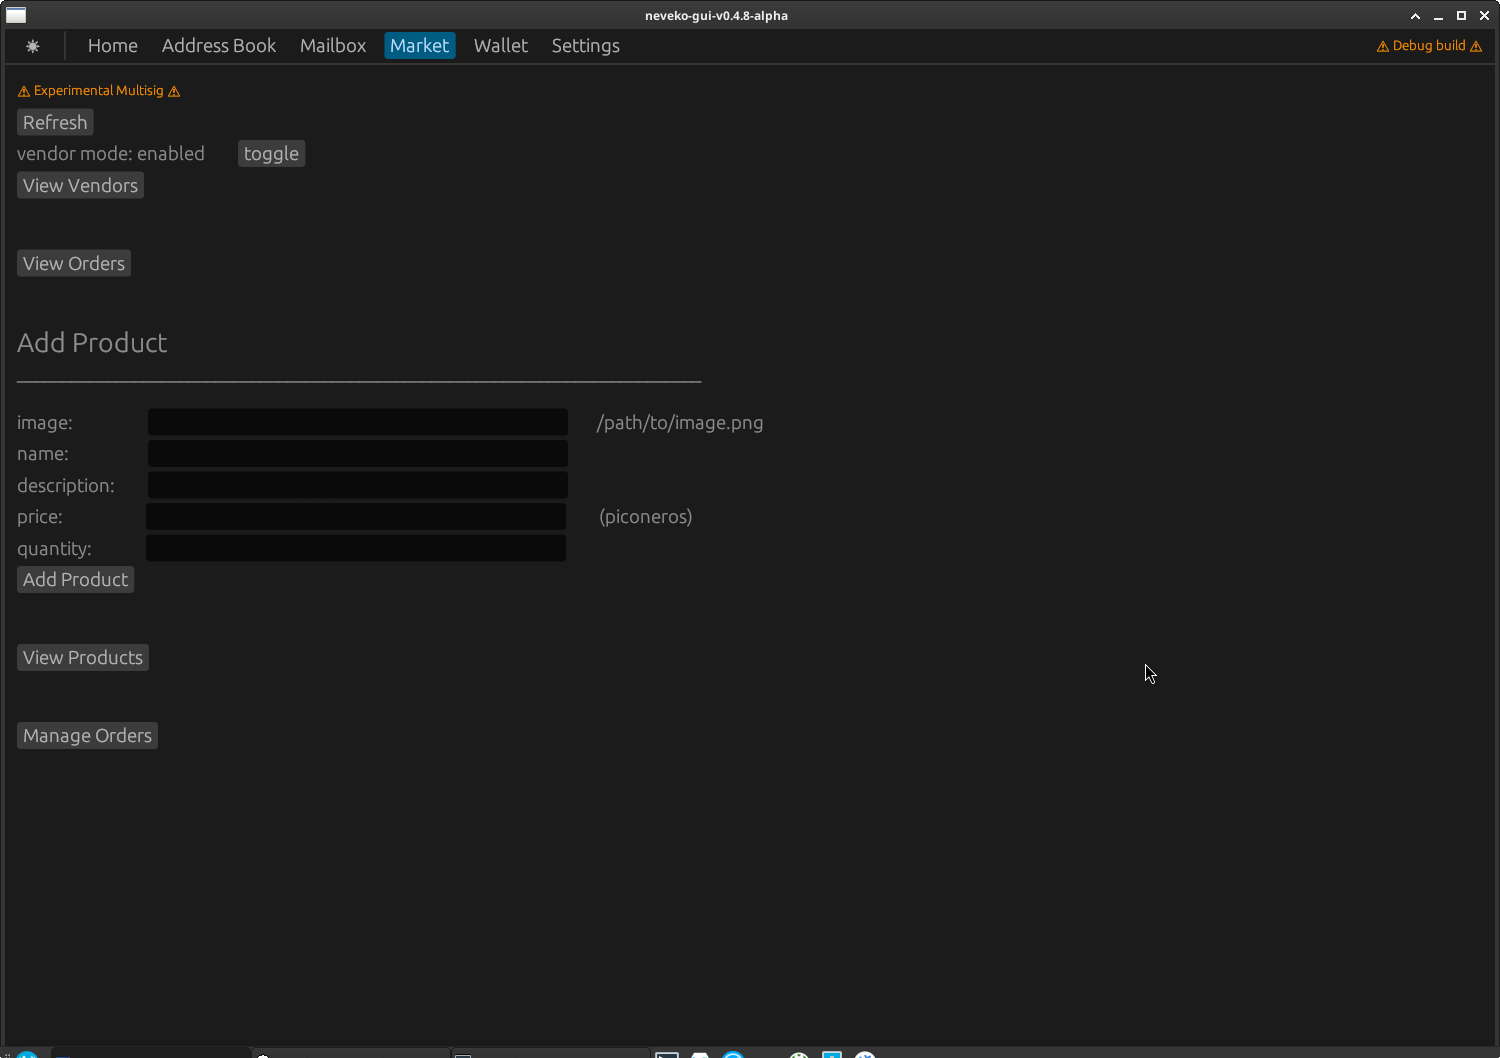
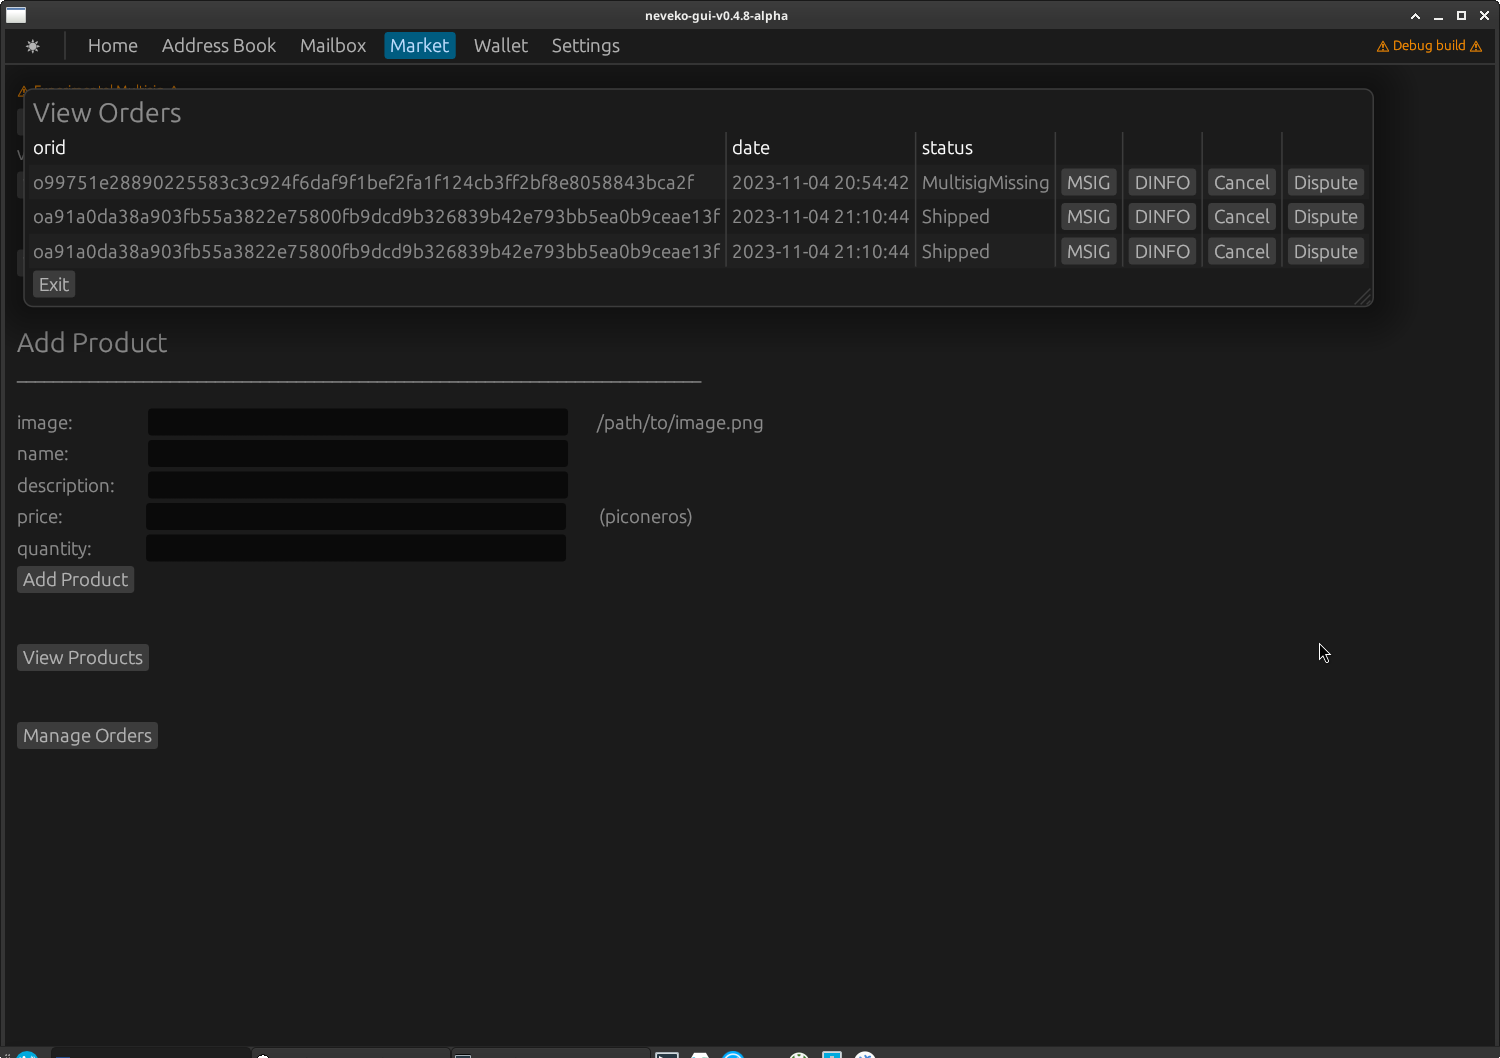
- neveko market allows 3 i2p users to create an order
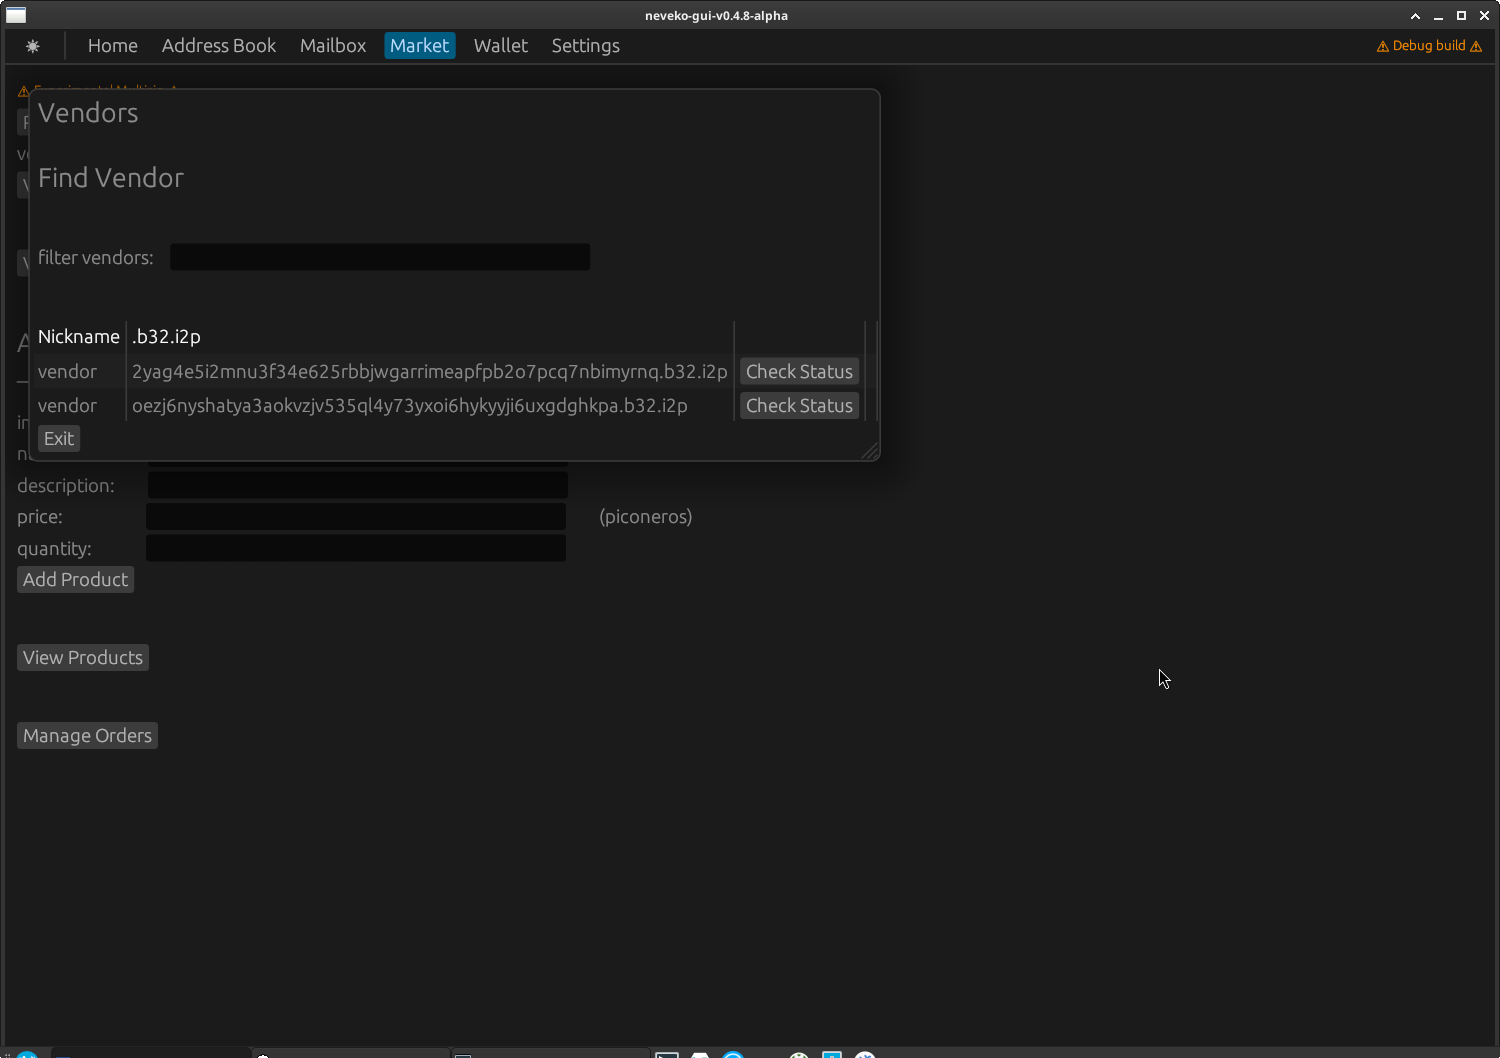
- first you need to have a contact in vendor
enabledmode - vendors must also have products in stock
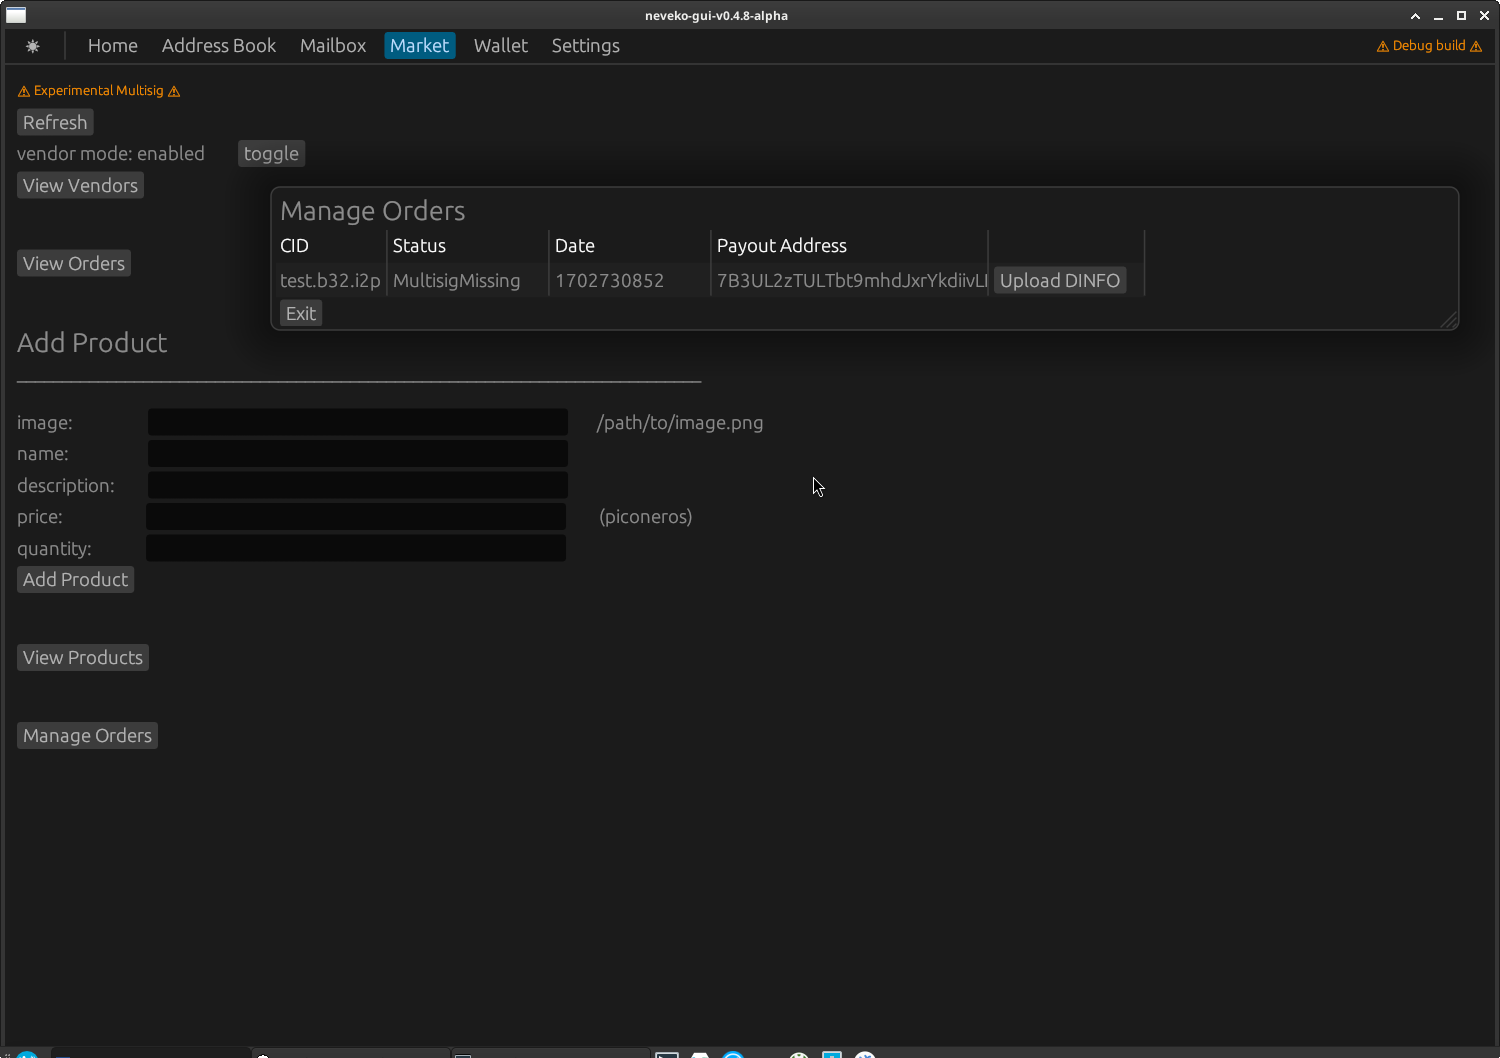
- here vendors can upload delivery info
- all other functionality including payment is automated
- funds will need to manually swept from neveko for now
- don't forget to
check statusoften - expired jwp will cause errors when orchestrated multisig operations
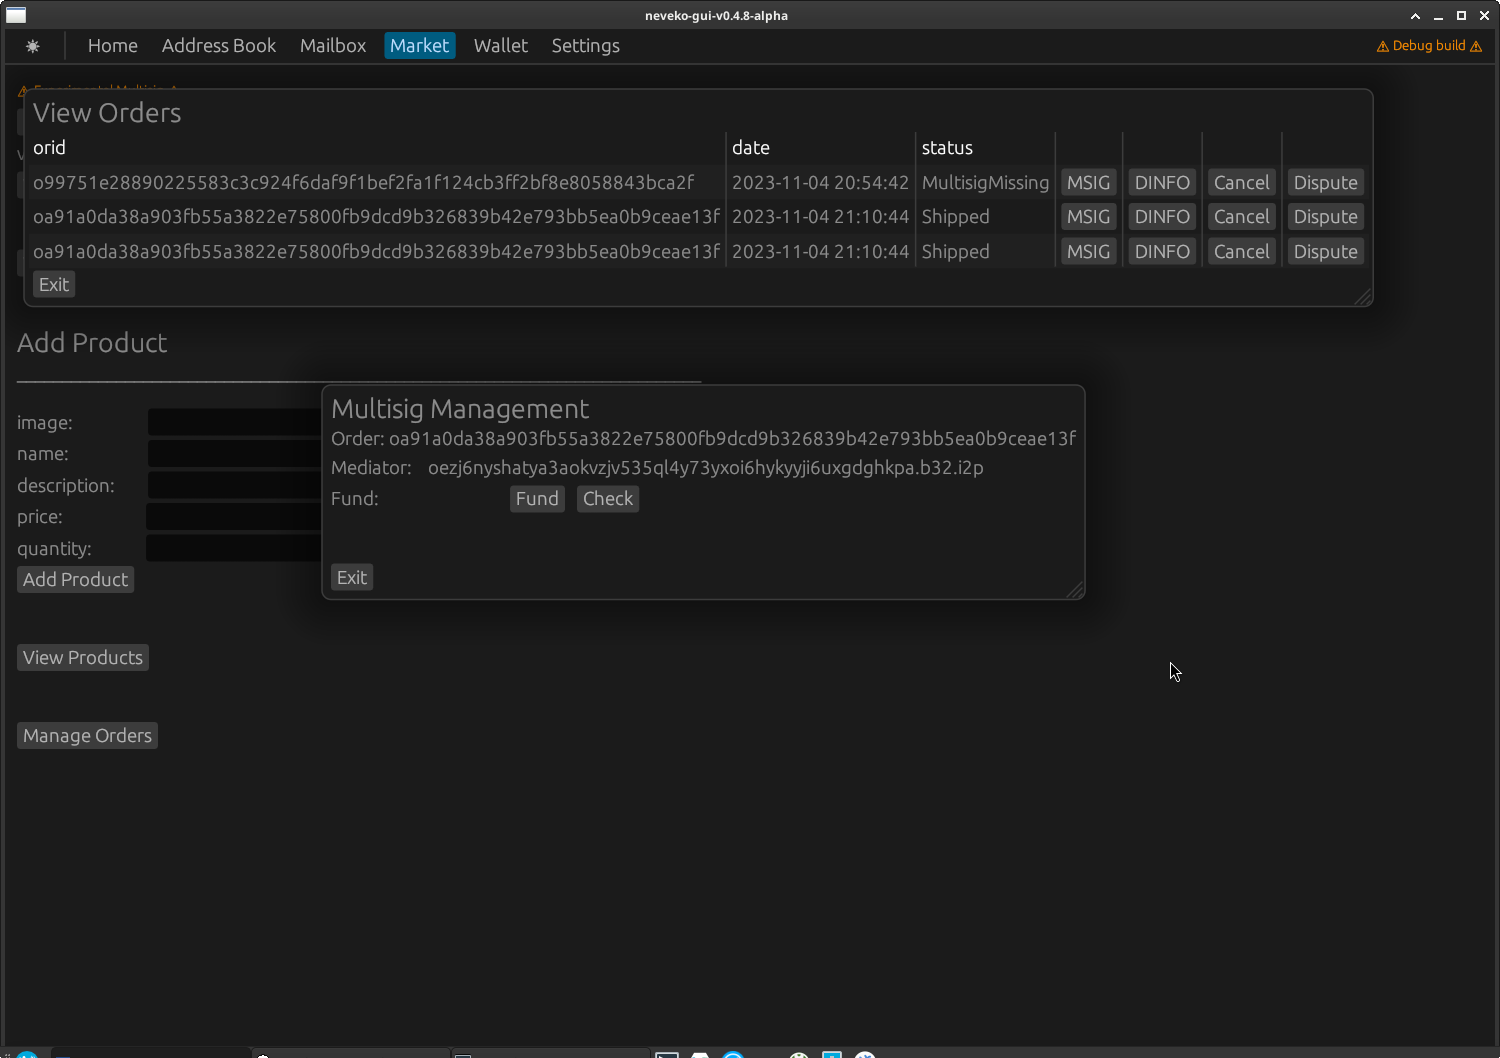
- customers are responsible for orchestrated multisig information exchange with
MSIG - orders can also be disputed or cancelled from here
- burden of multisig is on the customer
- click the msig step and use
checkto cycle to the next step - upon delivery don't forget to
release txset
